Friday, March 23, 2012

Tuesday, March 20, 2012

Wednesday, March 7, 2012

No Knead Nut & Fruit Bread


I've really enjoyed baking breads, I've got great feedback and people seem to love a homemade loaf. I wish everyone would take the time to make it, so worth it. I got this recipe from the king arthur website. I've made a few from it and they've all been delicious. I added dried cherries and used regular raisins on this loaf.


Directions

1) Mix the flours, salt, yeast, and water in a large bowl. Stir, then use your hands to mix and form a sticky dough.
2) Work the dough just enough to incorporate all the flour, then work in the fruit and nuts.
3) Cover the bowl with plastic wrap, and let it rest at room temperature overnight, or for at least 8 hours; it'll become bubbly and rise quite a bit, so use a large bowl.
4) Turn the dough out onto a lightly floured surface, and form it into a log or round loaf to fit your 14" to 15" long lidded stoneware baker; 9" x 12" oval deep casserole dish with cover; or 9" to 10" round lidded baking crock.
5) Place the dough in the lightly greased pan, smooth side up.
6) Cover and let rise at room temperature for about 2 hours, until it's become puffy. It should rise noticeably, but it's not a real high-riser.
7) Place the lid on the pan, and put the bread in the cold oven. Set the oven temperature to 450°F.
8) Bake the bread for 45 to 50 minutes, then remove the lid and continue to bake for another 5 to 15 minutes, until it's deep brown in color, and an instant-read thermometer inserted into the center registers about 205°F. Remove the bread from the oven, turn out onto a rack, and cool before slicing.

***I substitute other brands, whatever I have on hand.

Sunday, February 26, 2012

Roasted Garlic & Brussel Sprouts

This is an easy go to recipe that I really love. Even some people who think they don't like Brussel Sprouts have been converted by this one.

Beautiful Color


Yield 4 servings
Time About 40 minutes
Summary
Cooked this way, the outer leaves become crisp and the center is tender.
Ingredients
  • 1 pint brussel sprouts (about a pound)
  •  extra virgin olive oil, to coat bottom of pan
  • 10 cloves garlic
  • Salt and pepper to taste
Method
  • 1. Heat oven to 450 degrees. Trim bottom of brussels sprouts, and slice each in half top to bottom. Heat oil in cast-iron pan over medium-high heat until it shimmers; put sprouts cut side down in one layer in pan. Put in garlic, (I don't peel just cut off end), and sprinkle with salt and pepper.
  • 2. Cook, undisturbed, until sprouts begin to brown on bottom, and transfer to oven. Cook, shaking pan occasionally, until sprouts are quite brown and tender, about 20-30min.
  • 3. Taste, and add more salt and pepper if necessary.
  • 4. Remember don't eat the garlic skins, remove before eating.
  • Serve hot, warm or even cold the next day.
If you don't have a pan that can go into oven, just transfer sprouts and garlic to a baking pan brown side down.
** This recipe was originally posted by Mark Bittman NYTimes.

Saturday, February 25, 2012

Baked Potato Chips w/Rosemary, Salt, Pepper & Parmesan

These were crispy and yummy.....


So I made these last week and they were tasty and easy and addicting. I figure if I'm going to eat potato chips, I should have to work for them. So making my own seemed like a better choice then buying a bag. I also wanted to use my mandolin because it's been neglected for quite some time.

Preheat Oven to 375 Degrees 

Ingredients
3 small to medium red potatoes
olive oil
salt, pepper, rosemary to taste
parmesan cheese


Just slice up a few red potatoes, oil a baking pan (I used olive oil from my misto), lay potatoes in a single layer, spray again lightly and then sprinkle with salt, pepper, and rosemary.

Bake for approximately 25 minutes. Check to see if they're the color you are looking for. When potatoes are finished sprinkle with freshly grated parmesan. 


*****Remember these recipes aren't tested by professionals, just me in my kitchen. So you might need to tweak it for your own individual preference.


Tuesday, February 21, 2012

Decadent Italian Meat & Cheese Bread....

This bread is not for the faint of heart. I was wanting to try a bread like this and what a better excuse then friends coming to stay.....It definitely didn't disappoint. I took 3 different recipes and added my own spin and this is what I came up with.

****This recipe is a combination taken from Maria Luk, blog http://essenfreude.blogspot.com. Also originally from Jim Lahey and Mark Bittman.

Ingredients 

Basic Bread

  • Bread or All Purpose Flour, I did include a 1/2 cup of whole wheat when I made it-  2 1/3 cups or 300 grams
  • Cool filtered water -1 1/2 cups
  • Instant or active dry yeast -1/4 tsp
  • Table salt - 1/2 tsp

Mix-ins (mix and match, all are optional, add in whatever you like. Also, there's no need to be 100% exact in the proportions of pancetta, herbs and spices - adjust to personal taste. Just don't put too much cheese as it can make the bread too wet. Otherwise, feel free to go wild here!)
  • Tiny cubes of italian meats. I used pancetta (cook and save grease) and salami - 300 g / 2 1/3 cups
  • Pancetta fat (reserved from cooking the pancetta) - 1 tbsp
  • Red pepper flakes - a pinch (1/2 tsp)
  • Tiny cubes of cheese such as Parmesan or Pecorino (don't use wet cheese such as Cheddar or Mozzarella as it will spread too much and make the bread wet) - 50-100g / or a not-too generous handful
  • I added carmelized onions about 1/4 cup
  • Herbs and spices - 1 1/2 tsp of whatever you like. (I used a mix of course black peppercorn that I crushed and red pepper flakes). I like the crunchy pepper in it.

Method
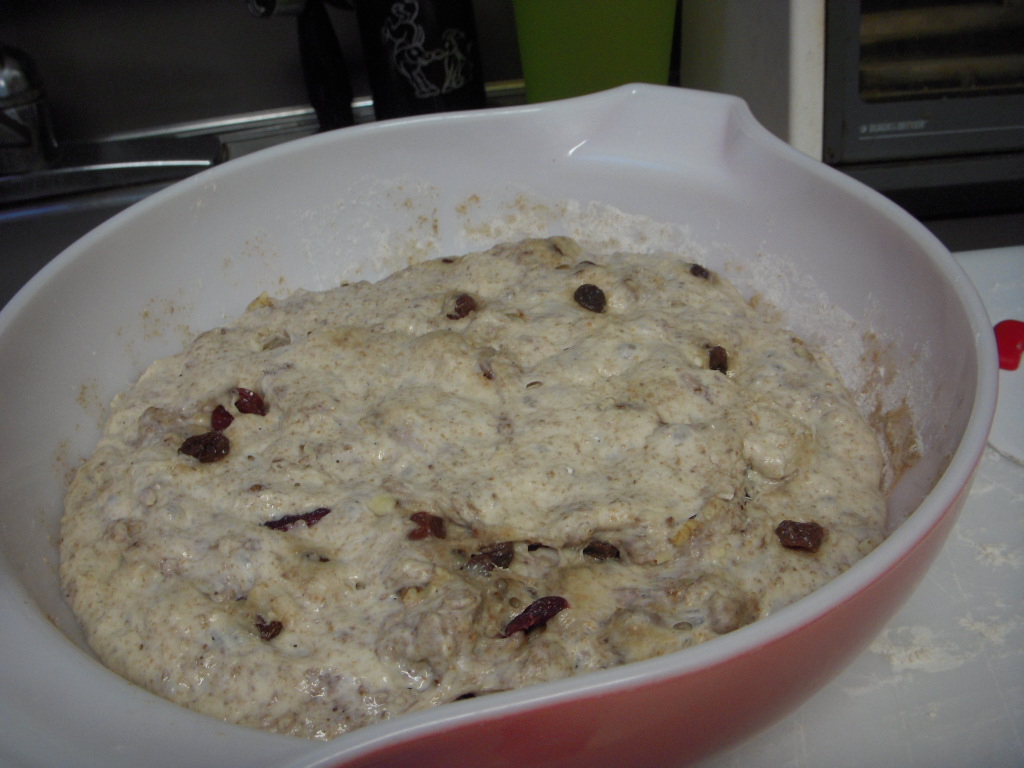
  1. Stir together all the ingredients (except bacon fat and water). Add the water and bacon fat. Mix for about 1 minute until combined with your hands or a wooden spoon.
  2. Cover the bowl and leave at room temperature until you see bubbles on the surface and the dough has doubled in size. This dough is less watery and is firmer than the dough in the original no-knead recipe printed in the New York Times. The dough should hold its shape somewhat. This first rise should take about 12 to 18 hours, depending on the temperature in your kitchen. I like to prep these long-rise breads the evening before, so that they're ready for baking the next day. As you can infer, making these no-knead breads are usually a weekend activity.
  3. Once the first rise is complete, tip the dough out onto a floured work surface. Gently punch the dough and shape it into a round shape.
  4. Using just enough flour to keep dough from sticking to work surface or to your fingers, gently and quickly shape dough into a ball. Generously coat a cotton towel (not terry cloth) with flour, wheat bran or cornmeal; put dough seam side down on towel and dust with more flour, bran or cornmeal. Cover with another cotton towel and let rise for about 2 hours. When it is ready, dough will be more than double in size and will not readily spring back when poked with a finger.
  5. At least a half-hour before dough is ready, heat oven to 450 degrees. Put a 6- to 8-quart heavy covered pot (cast iron, enamel, Pyrex or ceramic) in oven as it heats. When dough is ready, carefully remove pot from oven. Slide your hand under towel and turn dough over into pot, seam side up; it may look like a mess, but that is O.K. Shake pan once or twice if dough is unevenly distributed; it will straighten out as it bakes. Cover with lid and bake 30 minutes, then remove lid and bake another 15 to 30 minutes, I throw a cup of water onto my broiler pan (which is hot from being in the oven) for some steam effect, until loaf is beautifully browned. Cool on a rack.Wait at least an hour.

Yield: One loaf.